

How To Change Color Of Lineart In Photoshop
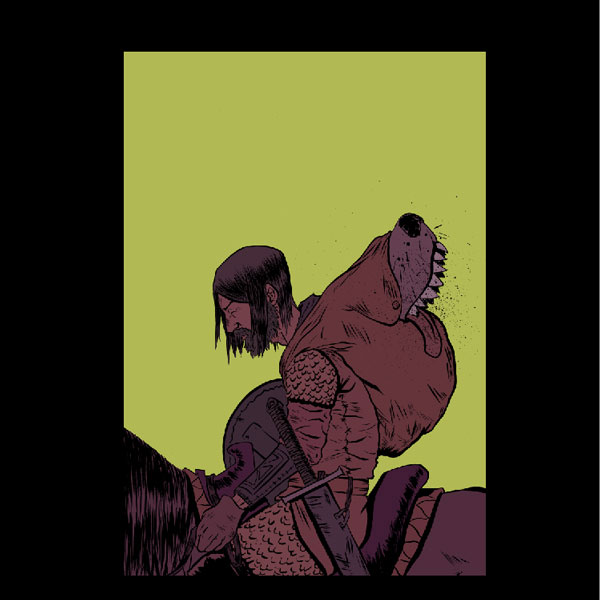
Preview
Click the paradigm beneath to see it in full size. 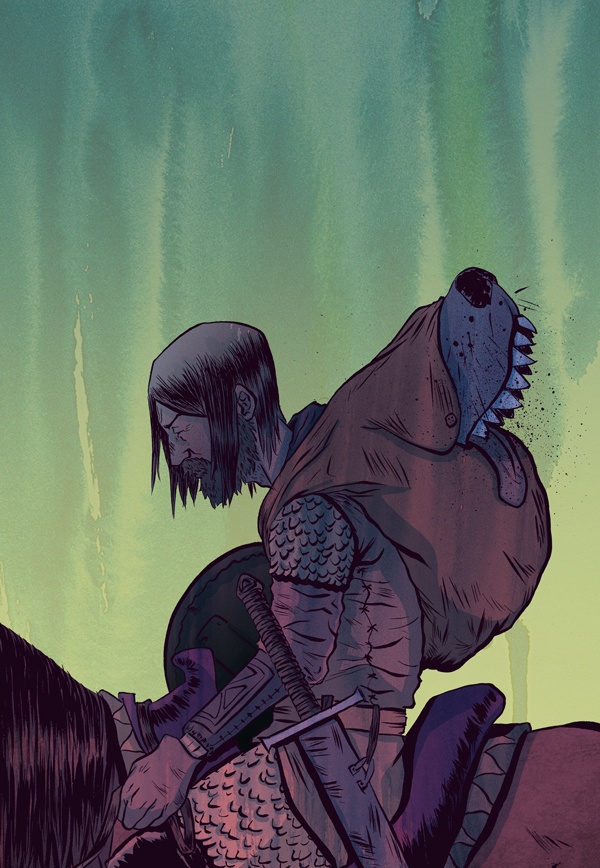
Step ane: Scanning Your Inks
In this tutorial, I'one thousand going to utilise my own illustration. Experience gratis to use your own illustration or utilise the source file provided at the stop of the tutorial to follow along. 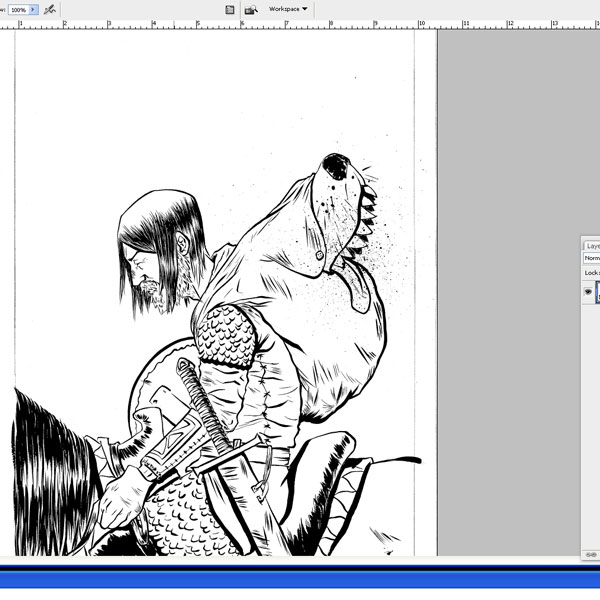 Make sure yous are scanning in black and white.
This ensures that you have solid black lines with no soft edges. This is important as we will exist isolating the line art onto its own layer — it's much easier to do this when the line art is clean and solid. 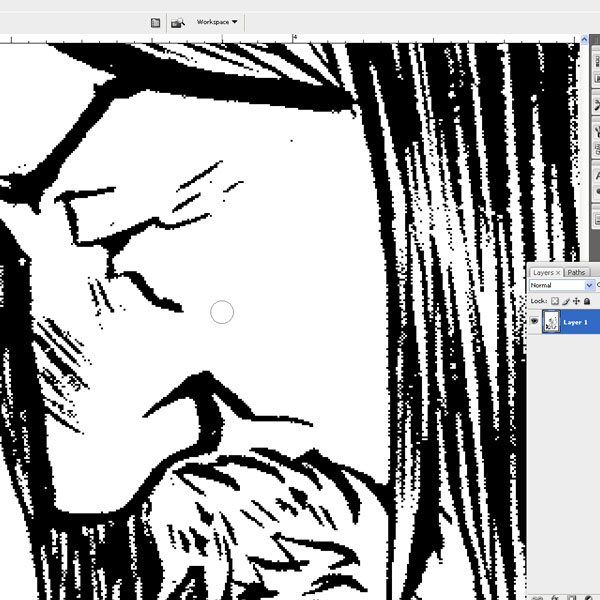
Footstep 2: Isolating the Line Fine art
Now that nosotros have our paradigm scanned, open it in Adobe Photoshop. Nosotros want to divide the inks onto their own layers for more control. To do this, nosotros desire to select the white background and delete information technology.
Press Ctrl/Cmd + Alt/Option + two (for Photoshop CS4 and up) or Ctrl/Cmd + Alt/Option + ~ (for Photoshop CS3 and below). This command places a selection around all the light-colored areas of the layer. Tip: I encourage you to know and use Photoshop shortcut keys; information technology saves a lot of time.
 And then press Delete to remove the selected white areas, leaving us with just the line art on this layer.
 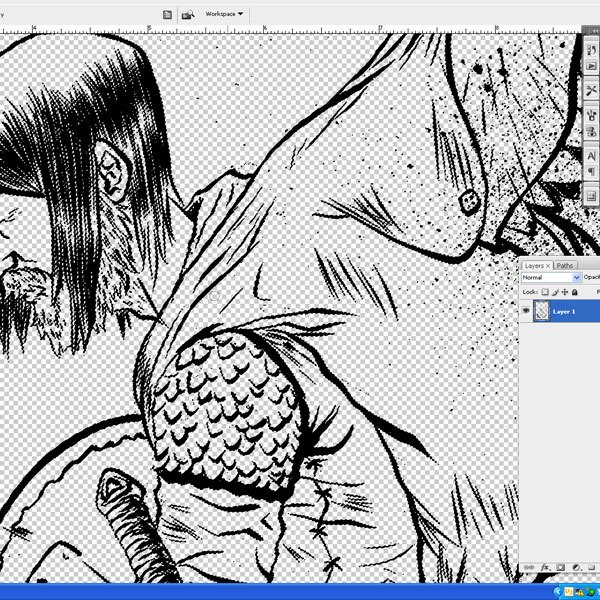 Create a new layer (Shift + Ctrl/Cmd + N). Use Edit > Fill (Shift + F5) to fill the unabridged layer with white.
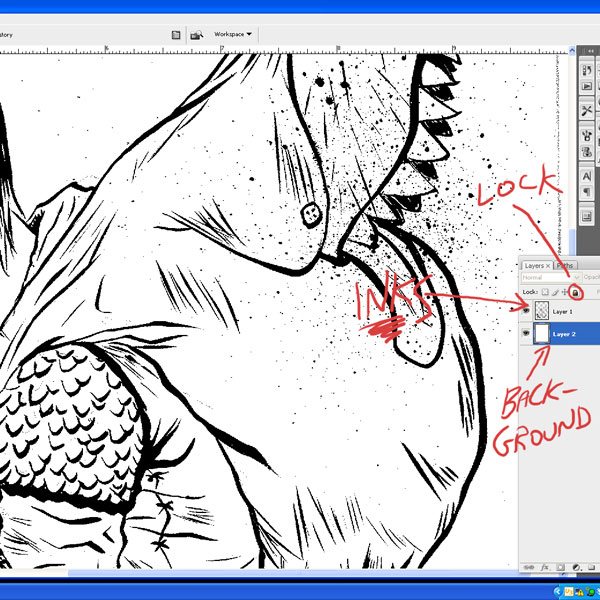
Move this layer beneath the line art layer. Lock this layer. We won't need to practise anything to information technology anymore.
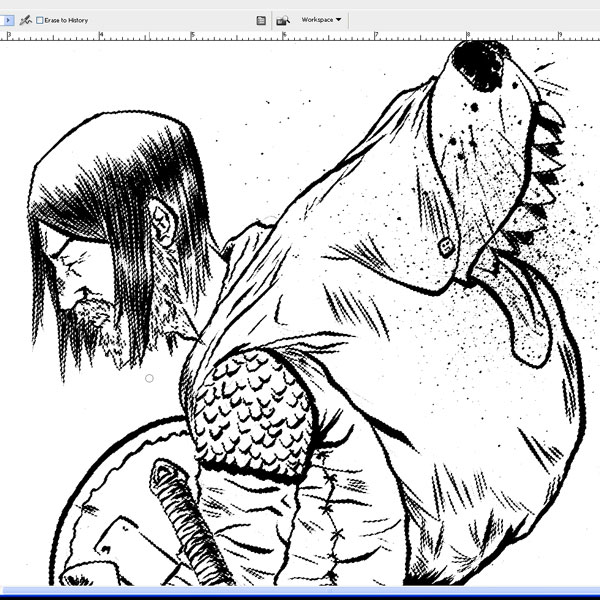
Footstep 3: Make clean Upwards Inks
It's always a skilful practice to erase every bit much of your pencil lines earlier you lot scan in your inks. It lessens the piece of work afterward in the digital stage. But nonetheless, we'll often still need to make clean up our inks digitally.
Let's practise some tidying upwardly! With the inks on their ain layer, run through them with the Eraser Tool (E) to get rid of any unwanted marks. 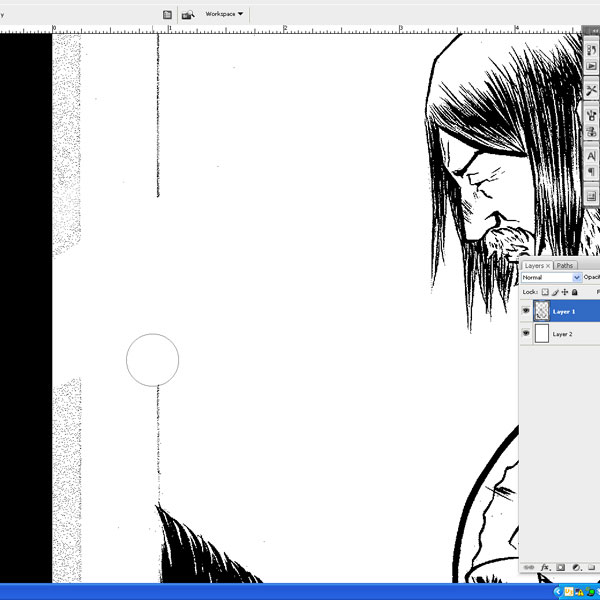
Step iv: Flats
Flatting (or flats) is blocking in color that serves as placeholders. Flats are not your concluding colors; instead, they help you gain control to brand coloring and rendering efficient. The term comes from the coloring specialist, Flatter, in the comic industry.
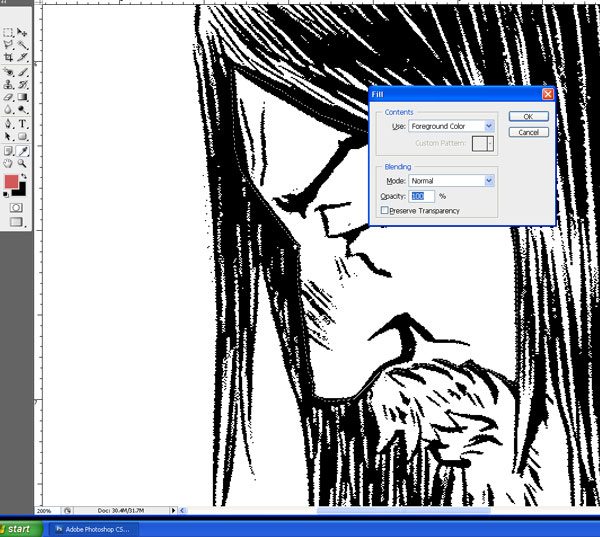
Let's first by creating a new layer underneath our line art layer. Next, grab the Lasso Tool (L) and make sure that the Anti-alias option in the Options Bar is not checked. 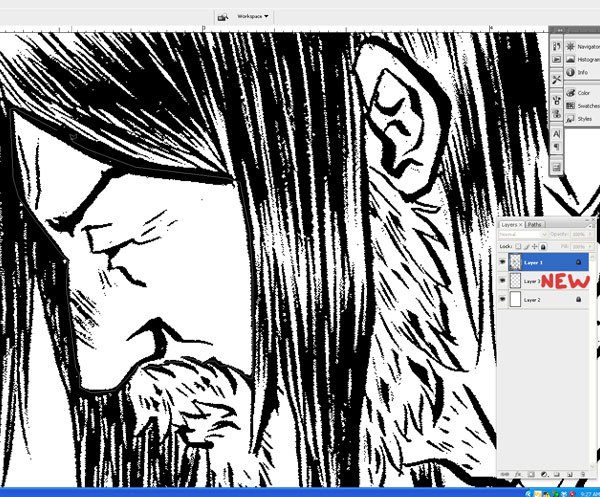 Get-go tracing the line-work with the Lasso Tool and filling (Shift + F5) the Lasso selections with whatsoever color you want.
 The completed flat for the face should await something like this:
 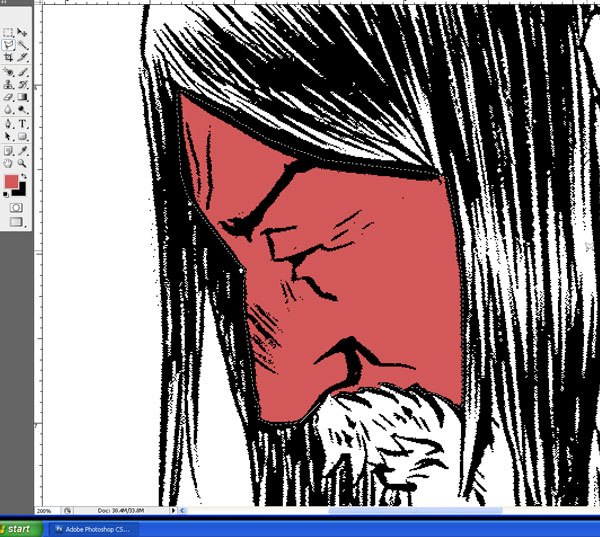 You will continue this process until yous have all the areas covered. In brusque, any expanse you want to color is going to have a unlike color flat. It doesn't matter which colors you use in this stage, so long every bit the same colors don't bear on.
Your final flats should await something similar this:  This tin can be a long and deadening procedure, but the hour and a half y'all spend flatting could easily translate into saving three hours in the final coloring stages.
Stride 5: Coloring
At present that the flats are finished, we need to lock the layer. This is where yous start making choices and experimenting, because it's fourth dimension to color! Yous should have your flats layer locked.
Now, take hold of your Magic Wand Tool (West), make sure to have the Tolerance option set to 0, Anti-allonym pick unchecked and Contiguous option unchecked (this can all be done in the Options bar). 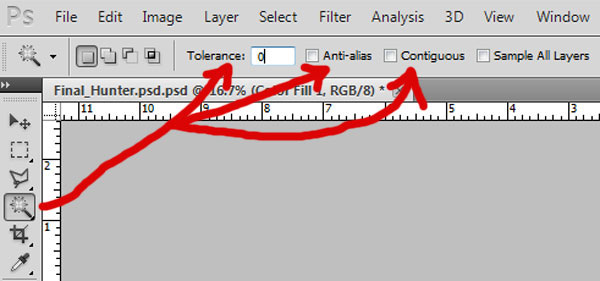 Use the Magic Wand Tool to select the dissimilar colors on your flats layer and filling (Shift + F5) your colors on the new layer in a higher place information technology.
 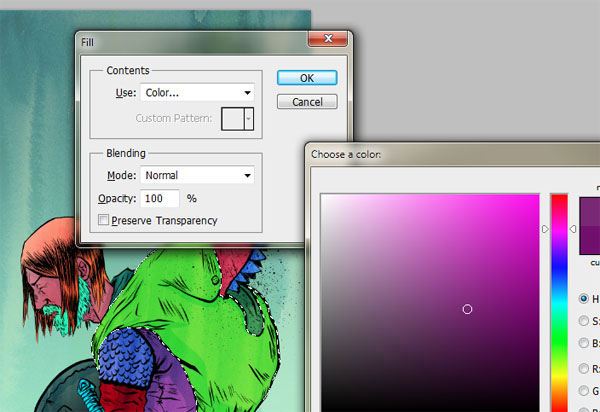 I'm going for a purple-ish overall tone with a yellow/light-green background, but I may make up one's mind to change it to a red, a green, or even a yellowish tone down the road.
Since I can go back to my flats layer and grab anything I desire, everything tin can exist changed or fixed. This is ane major advantages of flatting. For now, I'm going to stick with the colors shown beneath.
Stride half-dozen: Rendering
Here's some other phase where the choices are yours. You lot could just leave these colors flat, or you could brand a custom castor and start painting. For this piece, I will become with a basic cel-shading style — blue shadow on everything.
I'grand doing this, because I know I'one thousand going to be playing around with a lot of watercolor textures later, and I don't want an overly rendered wait. So with the Magic Wand Tool (W), let's grab all the areas of the Hunter and his Horse. Pick a nice blue shade color, and kickoff coloring where you want your shadows.
I did this on a single layer to minimize the number of layers I stop up with too as using as niggling machine power to foreclose crash or lag. Hither is the result: 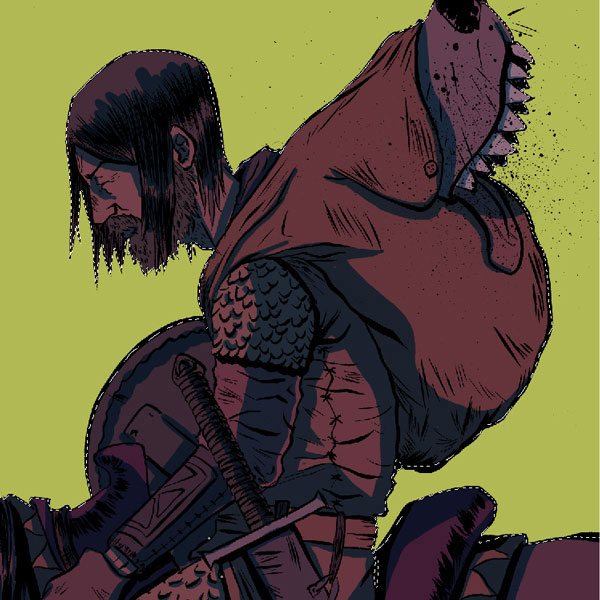 Now we are going to create a new layer on top of the shadows layer to add some gradients to the groundwork and the shield. Utilise the Magic Wand Tool (Westward) to select the background.
One time selected, apply the Gradient Tool (K), setting information technology to Linear Slope and choosing the Foreground to Transparent preset in the Options bar. 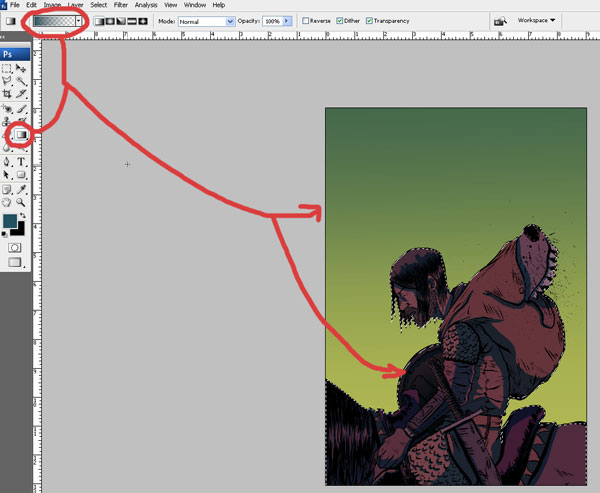
Step 7: Textures
I scanned in various watercolor textures that I fabricated. (If you are following along with the provided source file at the lesser of this tutorial, they are included in the layers.) 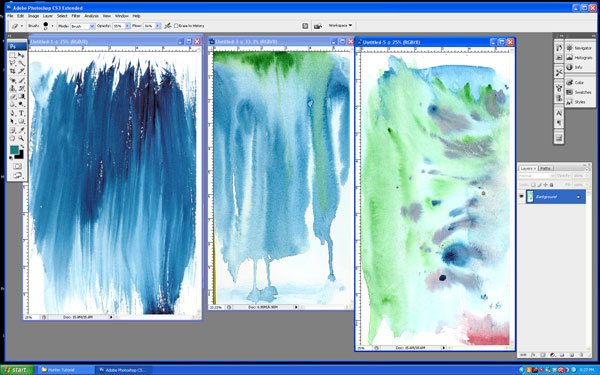 If y'all are scanning in your ain textures in Photoshop, switch to the Motion Tool (V), Shift-click on the scanned-in texture and and so drag information technology over into our master document. (A possible option is to use the Watercolor Textures: Photoshop Brush Pack instead.) It'll look something like this:
 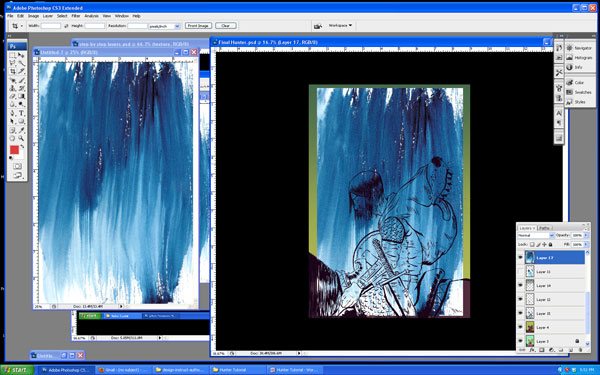 Now we just want this texture to impact the Hunter.
In other words, we want to delete the texture off the Equus caballus and the background. This is besides where flatting becomes quite helpful. Let's go back to the flats layer, use the Magic Wand Tool (Westward) to select the background and the horse, and so press Delete.
Now our texture is only affecting our Hunter and a bit of his saddle. 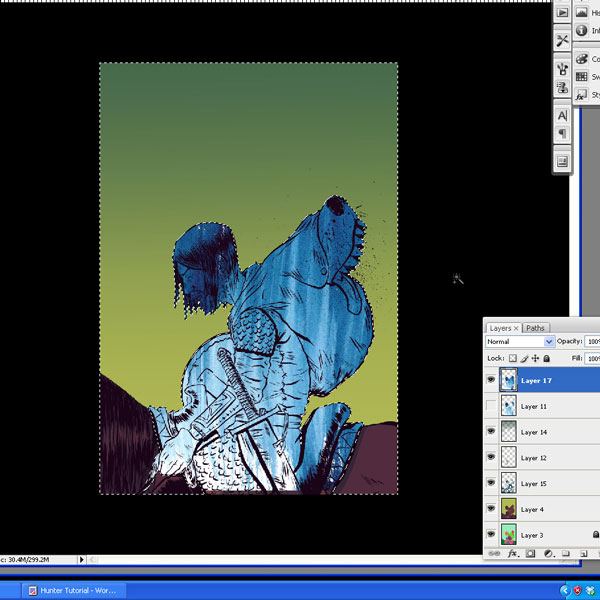 To add more depth, allow's tweak the layer's Blend Mode and Opacity. In that location are many cool furnishings in the different layer modes, but for this tutorial, nosotros will use the Overlay style.
This is ane of my favorites when working with textures. Select the texture layer, ready it to Overlay. Adjacent, lower the texture layer's Opacity to lessen the intensity — driblet the dial back to about 63%.
Experience free to experiment. 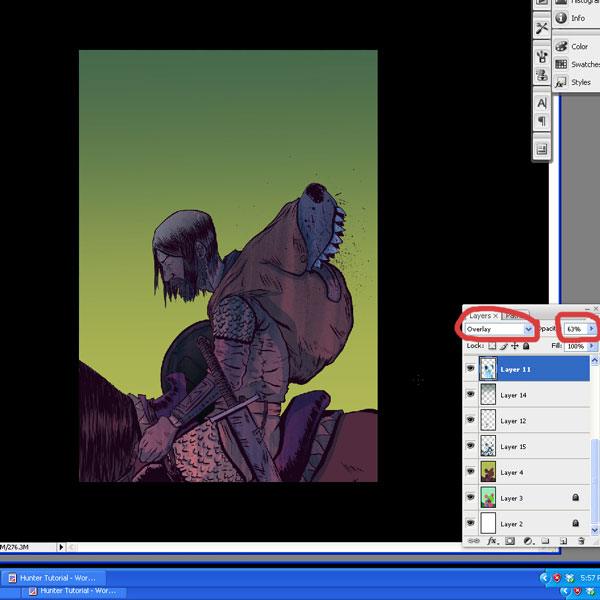 This is the most basic way to deal with textures. Using this method, I dragged over a few more textures into the piece and isolated them to certain areas using our flats.
I concluded up with this: 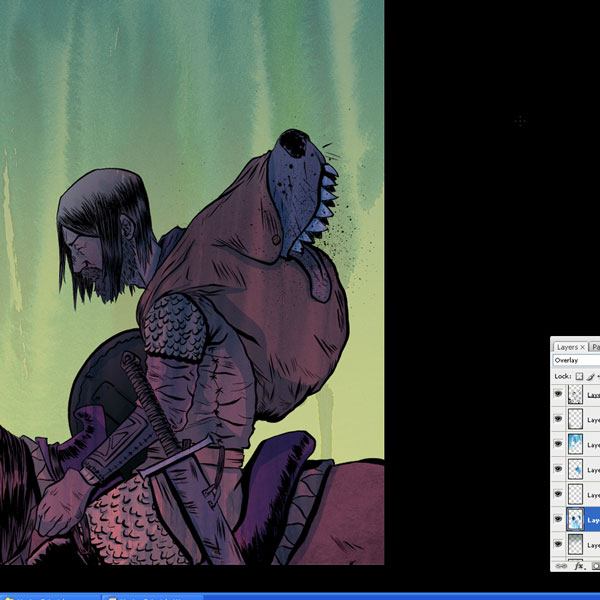 Using the method higher up, complete your textures.
Step viii: Adjustment Layers – The Finishing Touch on
The illustration is well-nigh complete, but it needs a niggling refinement. This is when I usually start playing around with adjustment layers. These are great because y'all can get many different effects without changing the pixels of your prototype.
I want to add a fiddling color in the line art. The stark black of the line art stands out from the muted palette. Let's tone it downward.
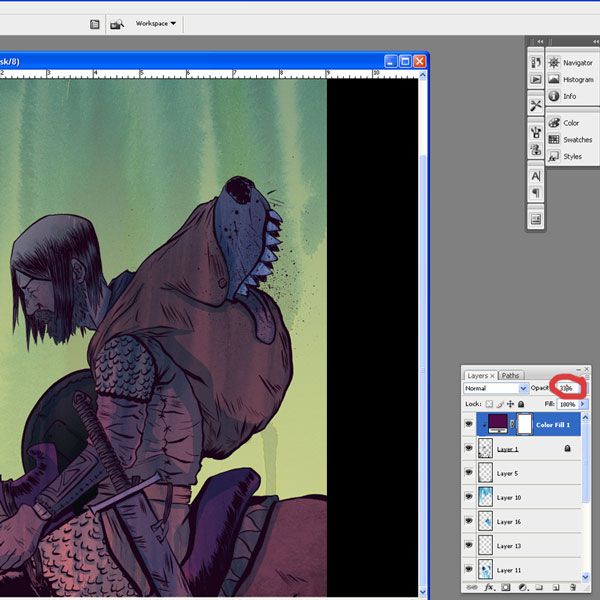
Click on the inks layer to make it the agile layer, and so click on the Create new fill or adjustment layer icon (it looks like a black and white pie) at the bottom of your Layers panel, and so cull Solid Color. 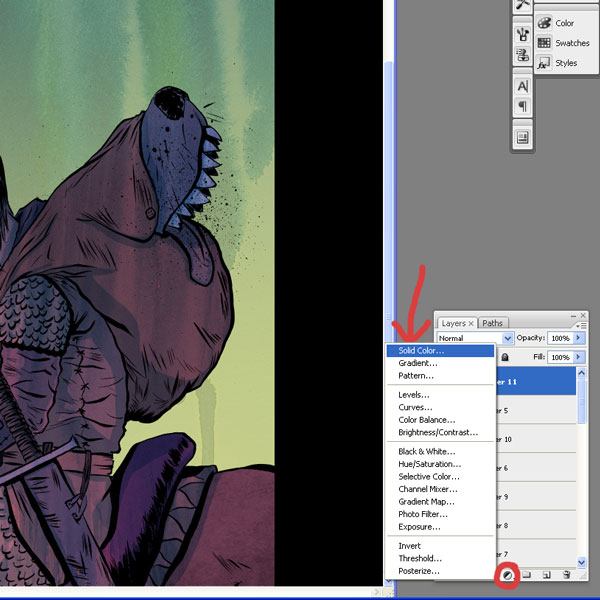 Since it has a lot of purple, I want the inks to fit in instead of standing out. I'chiliad going to select a purple color.
The entire layer should be filled with the colour you have selected. In this example, imperial. 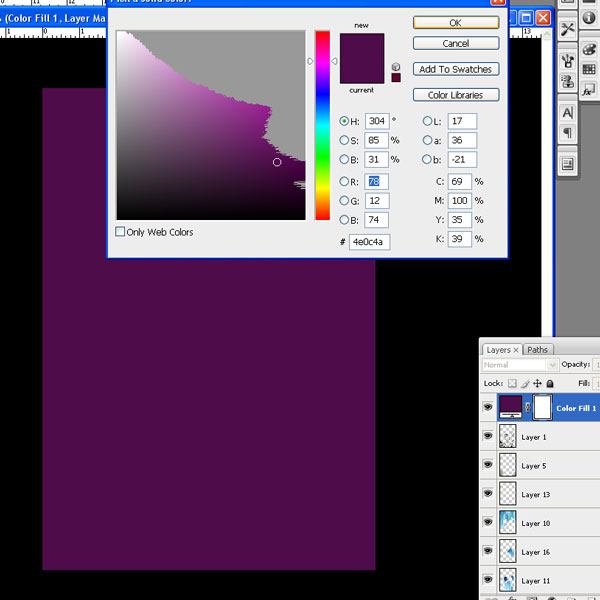 Essentially the aligning layer is affecting everything below information technology, but we but want to affect the layer direct beneath it (the inks layer).
So right-click on the Solid Color adjustment layer and so choose Create Clipping Mask from the menu. 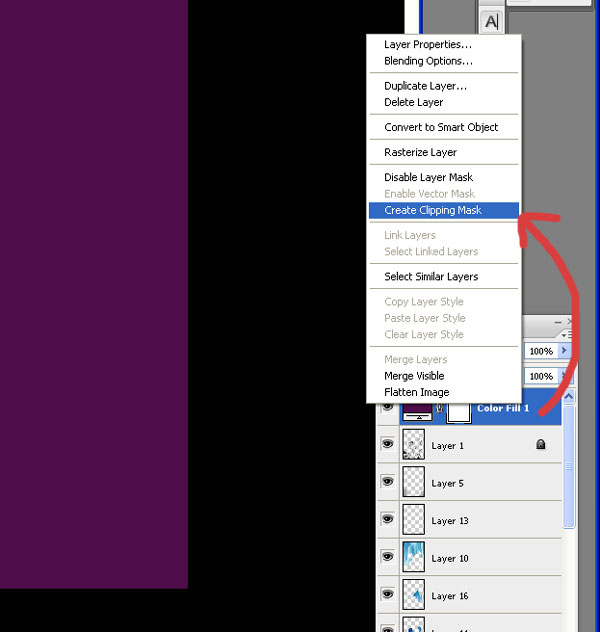 The result should wait similar the following:
 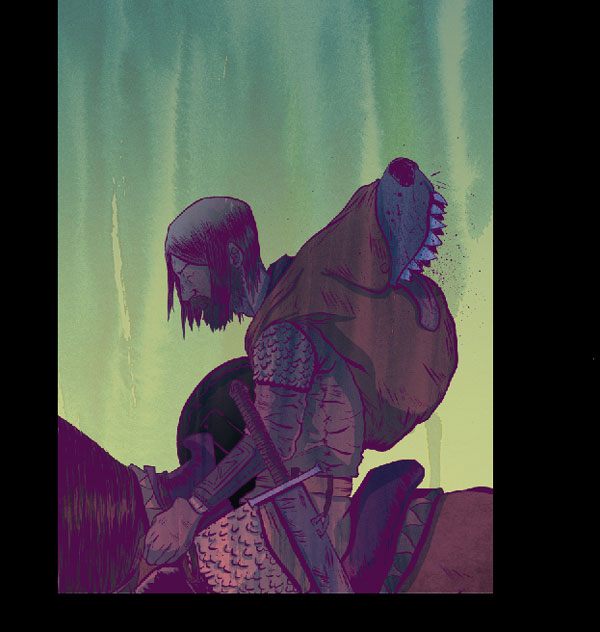 However, the event seems too bright still. Lower the Opacity of the adjustment layer to nearly 33%.
Footstep 9: Flatten the Image
This all looks skillful to me at this point, and I'grand going to phone call it done! To cease up, let'southward flatten the image. Right-click on whatever layer and choose Flatten Epitome from the bill of fare that appears.
Y'all can besides do this from the Photoshop carte by going to Layer > Flatten Image. 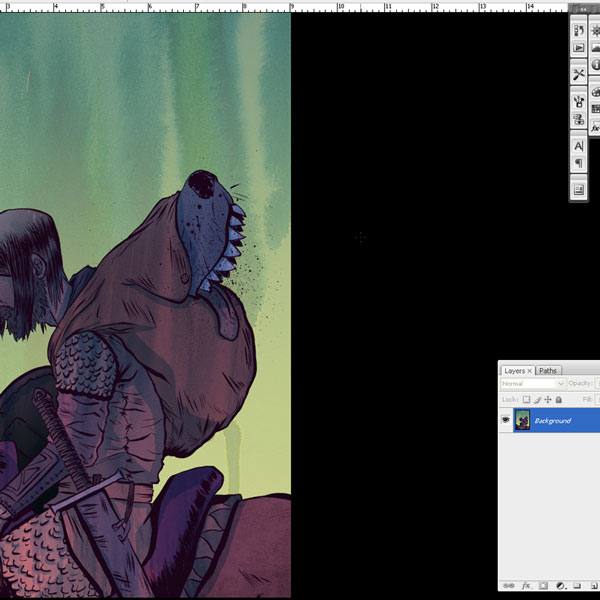 Convert the image from RGB to CMYK for print by choosing Image > Style > CMYK Colour.
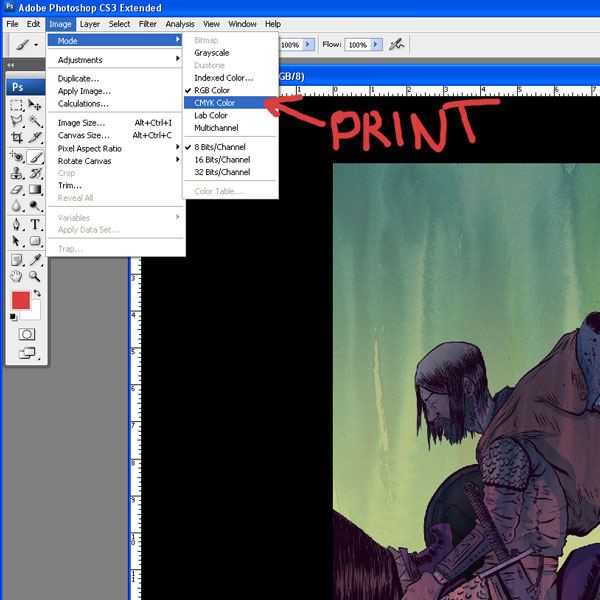
Tutorial Summary
That's it! I hope you picked up something interesting in this coloring tutorial. I talked about several techniques such every bit cleaning up inks, creating flats, adding textures and using adjustment layers.
For inspiration, check out the portfolio sites of these digital colorists:
- James Jean
- Frank Stockton
- Tomer Hanuk
- Sam Weber
- Joao Ruas
Download Source Files
- color_inked_lineart (Null, 84.0 MB)

How To Change Color Of Lineart In Photoshop,
Source: https://www.webfx.com/blog/web-design/how-to-color-inked-line-art-in-photoshop/
Posted by: allenundeng1969.blogspot.com
0 Response to "How To Change Color Of Lineart In Photoshop"
Post a Comment